Question-and-Answer Resource for the Building Energy Modeling Community
Get started with the Help page
Ask Your Question
0

How to setup multi-story Project? Open Studio

asked 2023-05-22 11:15:56 -0500

updated 2023-05-22 12:09:10 -0500

Hello, I am new to Open studio and have some questions as I am going, any help will be greatly appreciated. Thank ahead to everyone looking at this. \

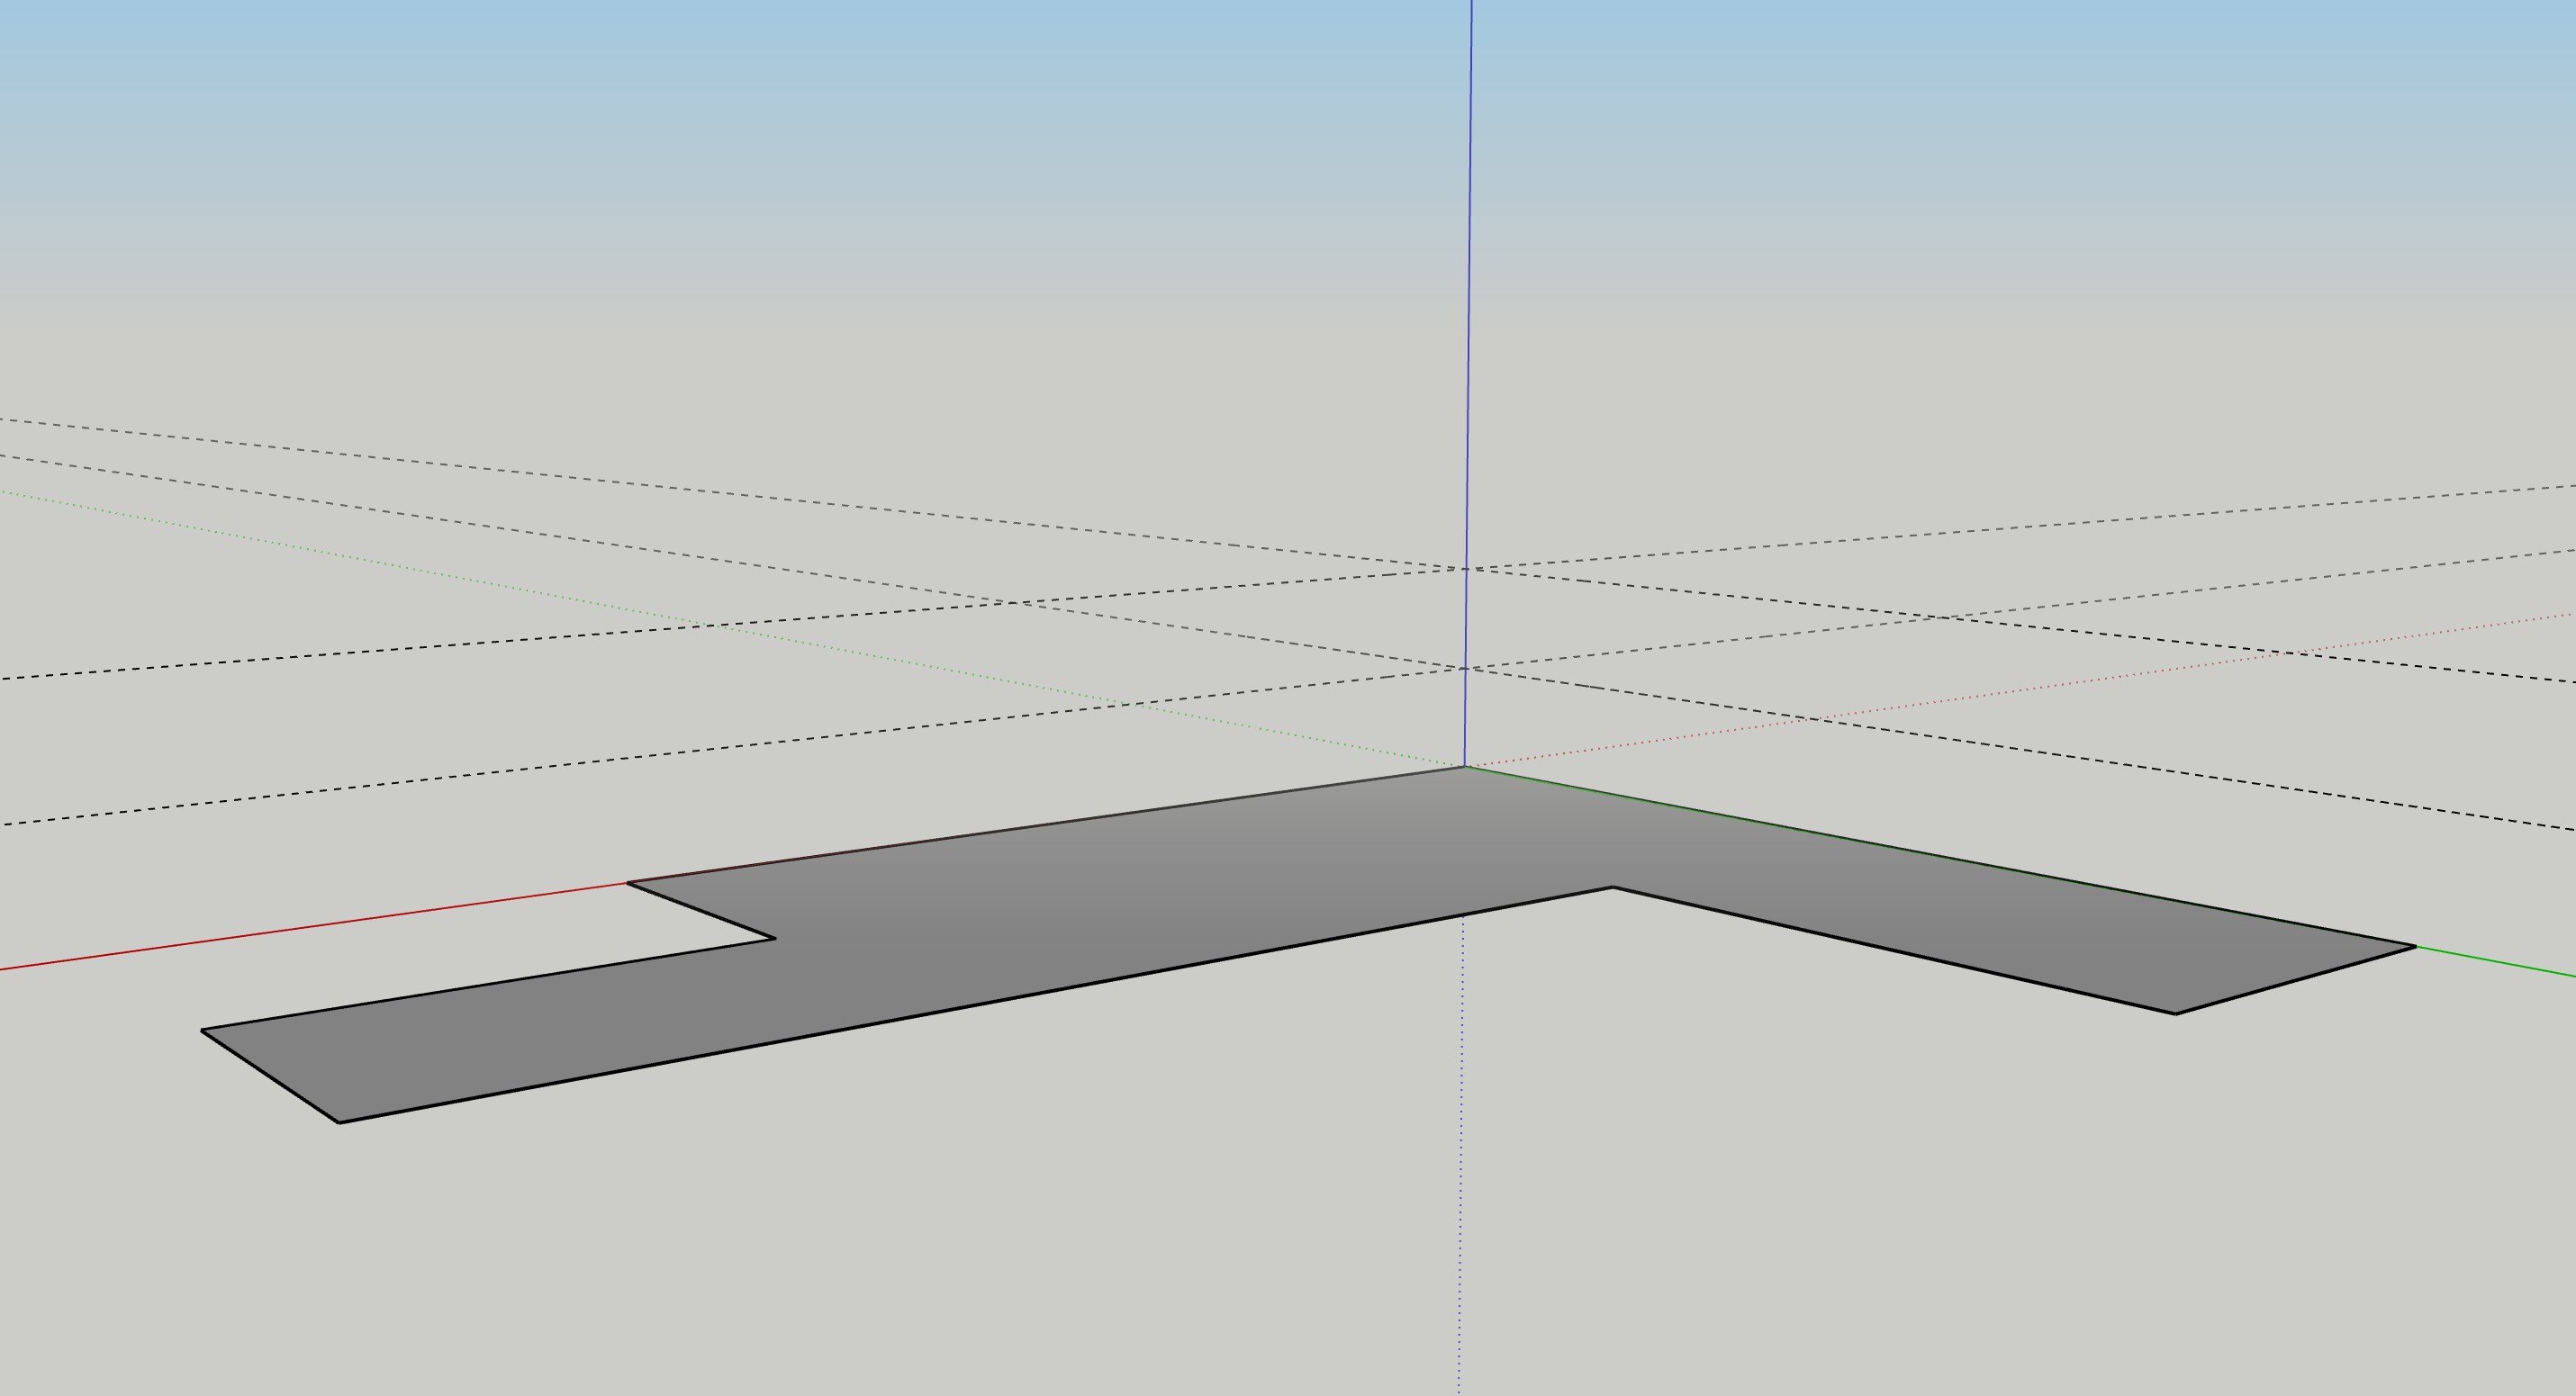
So far I have been successful in creating a simple single-story project. I will trace a floorplan and use the create space from drawing command after which there might be a couple surfaces that will need to be matched, no big issues there.

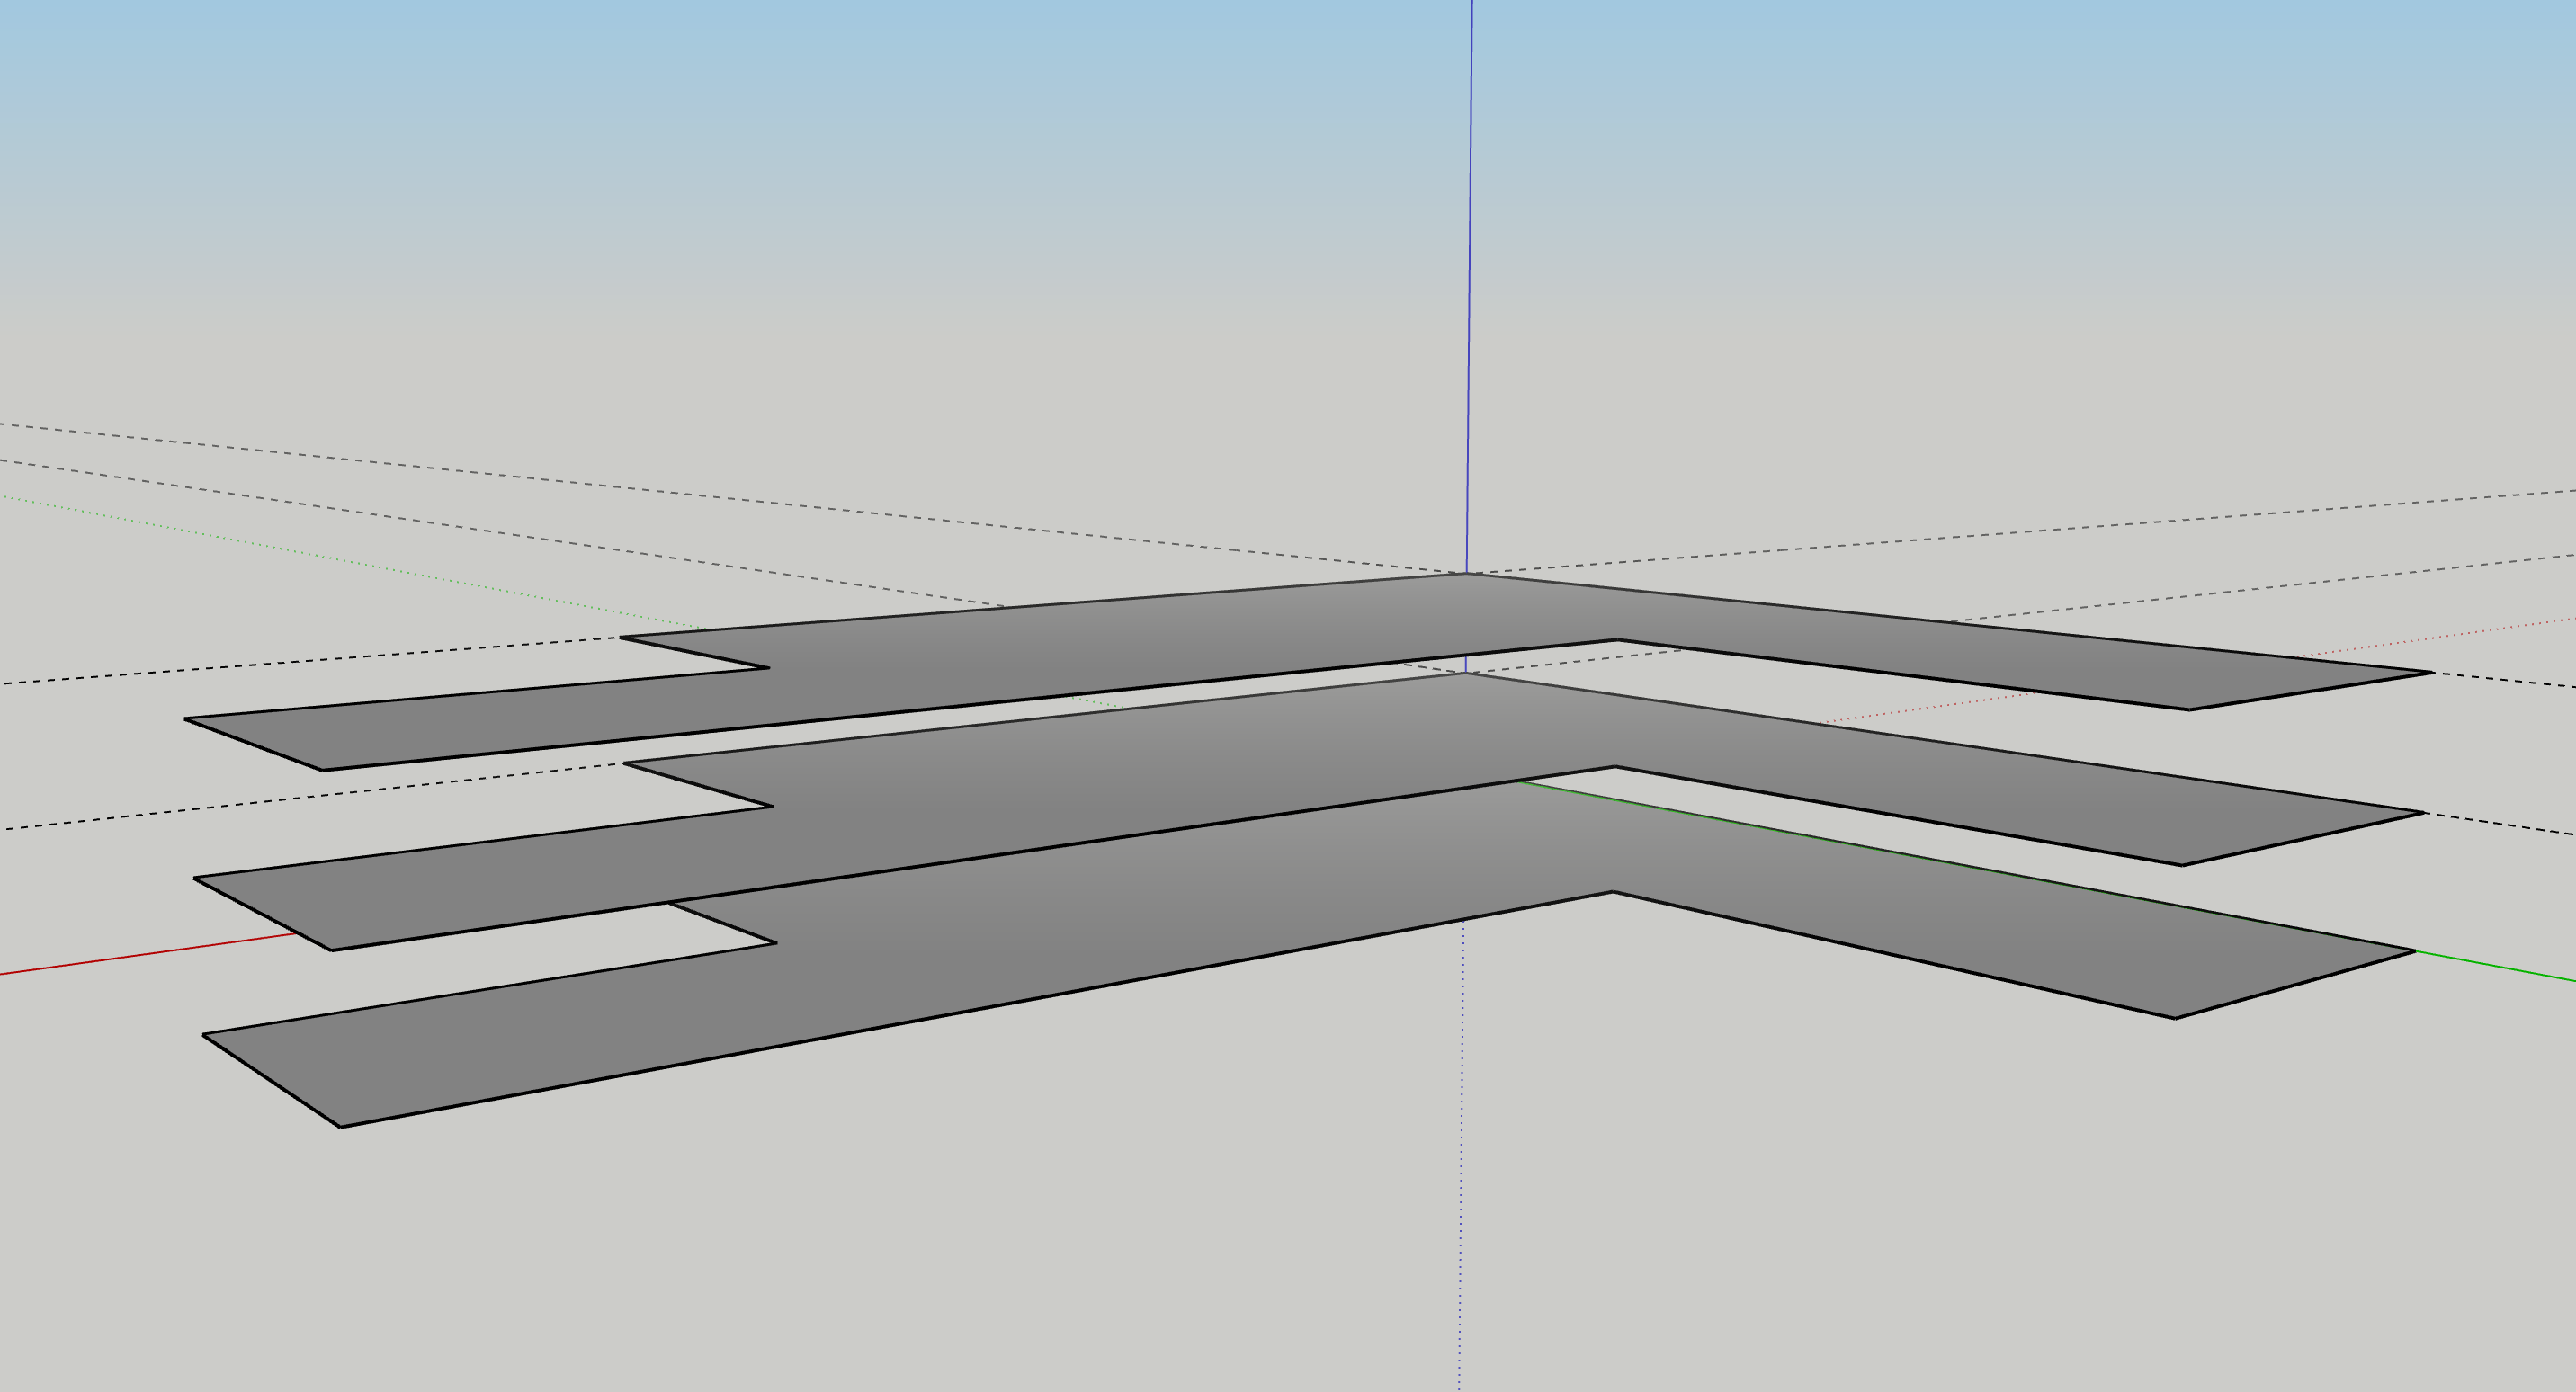
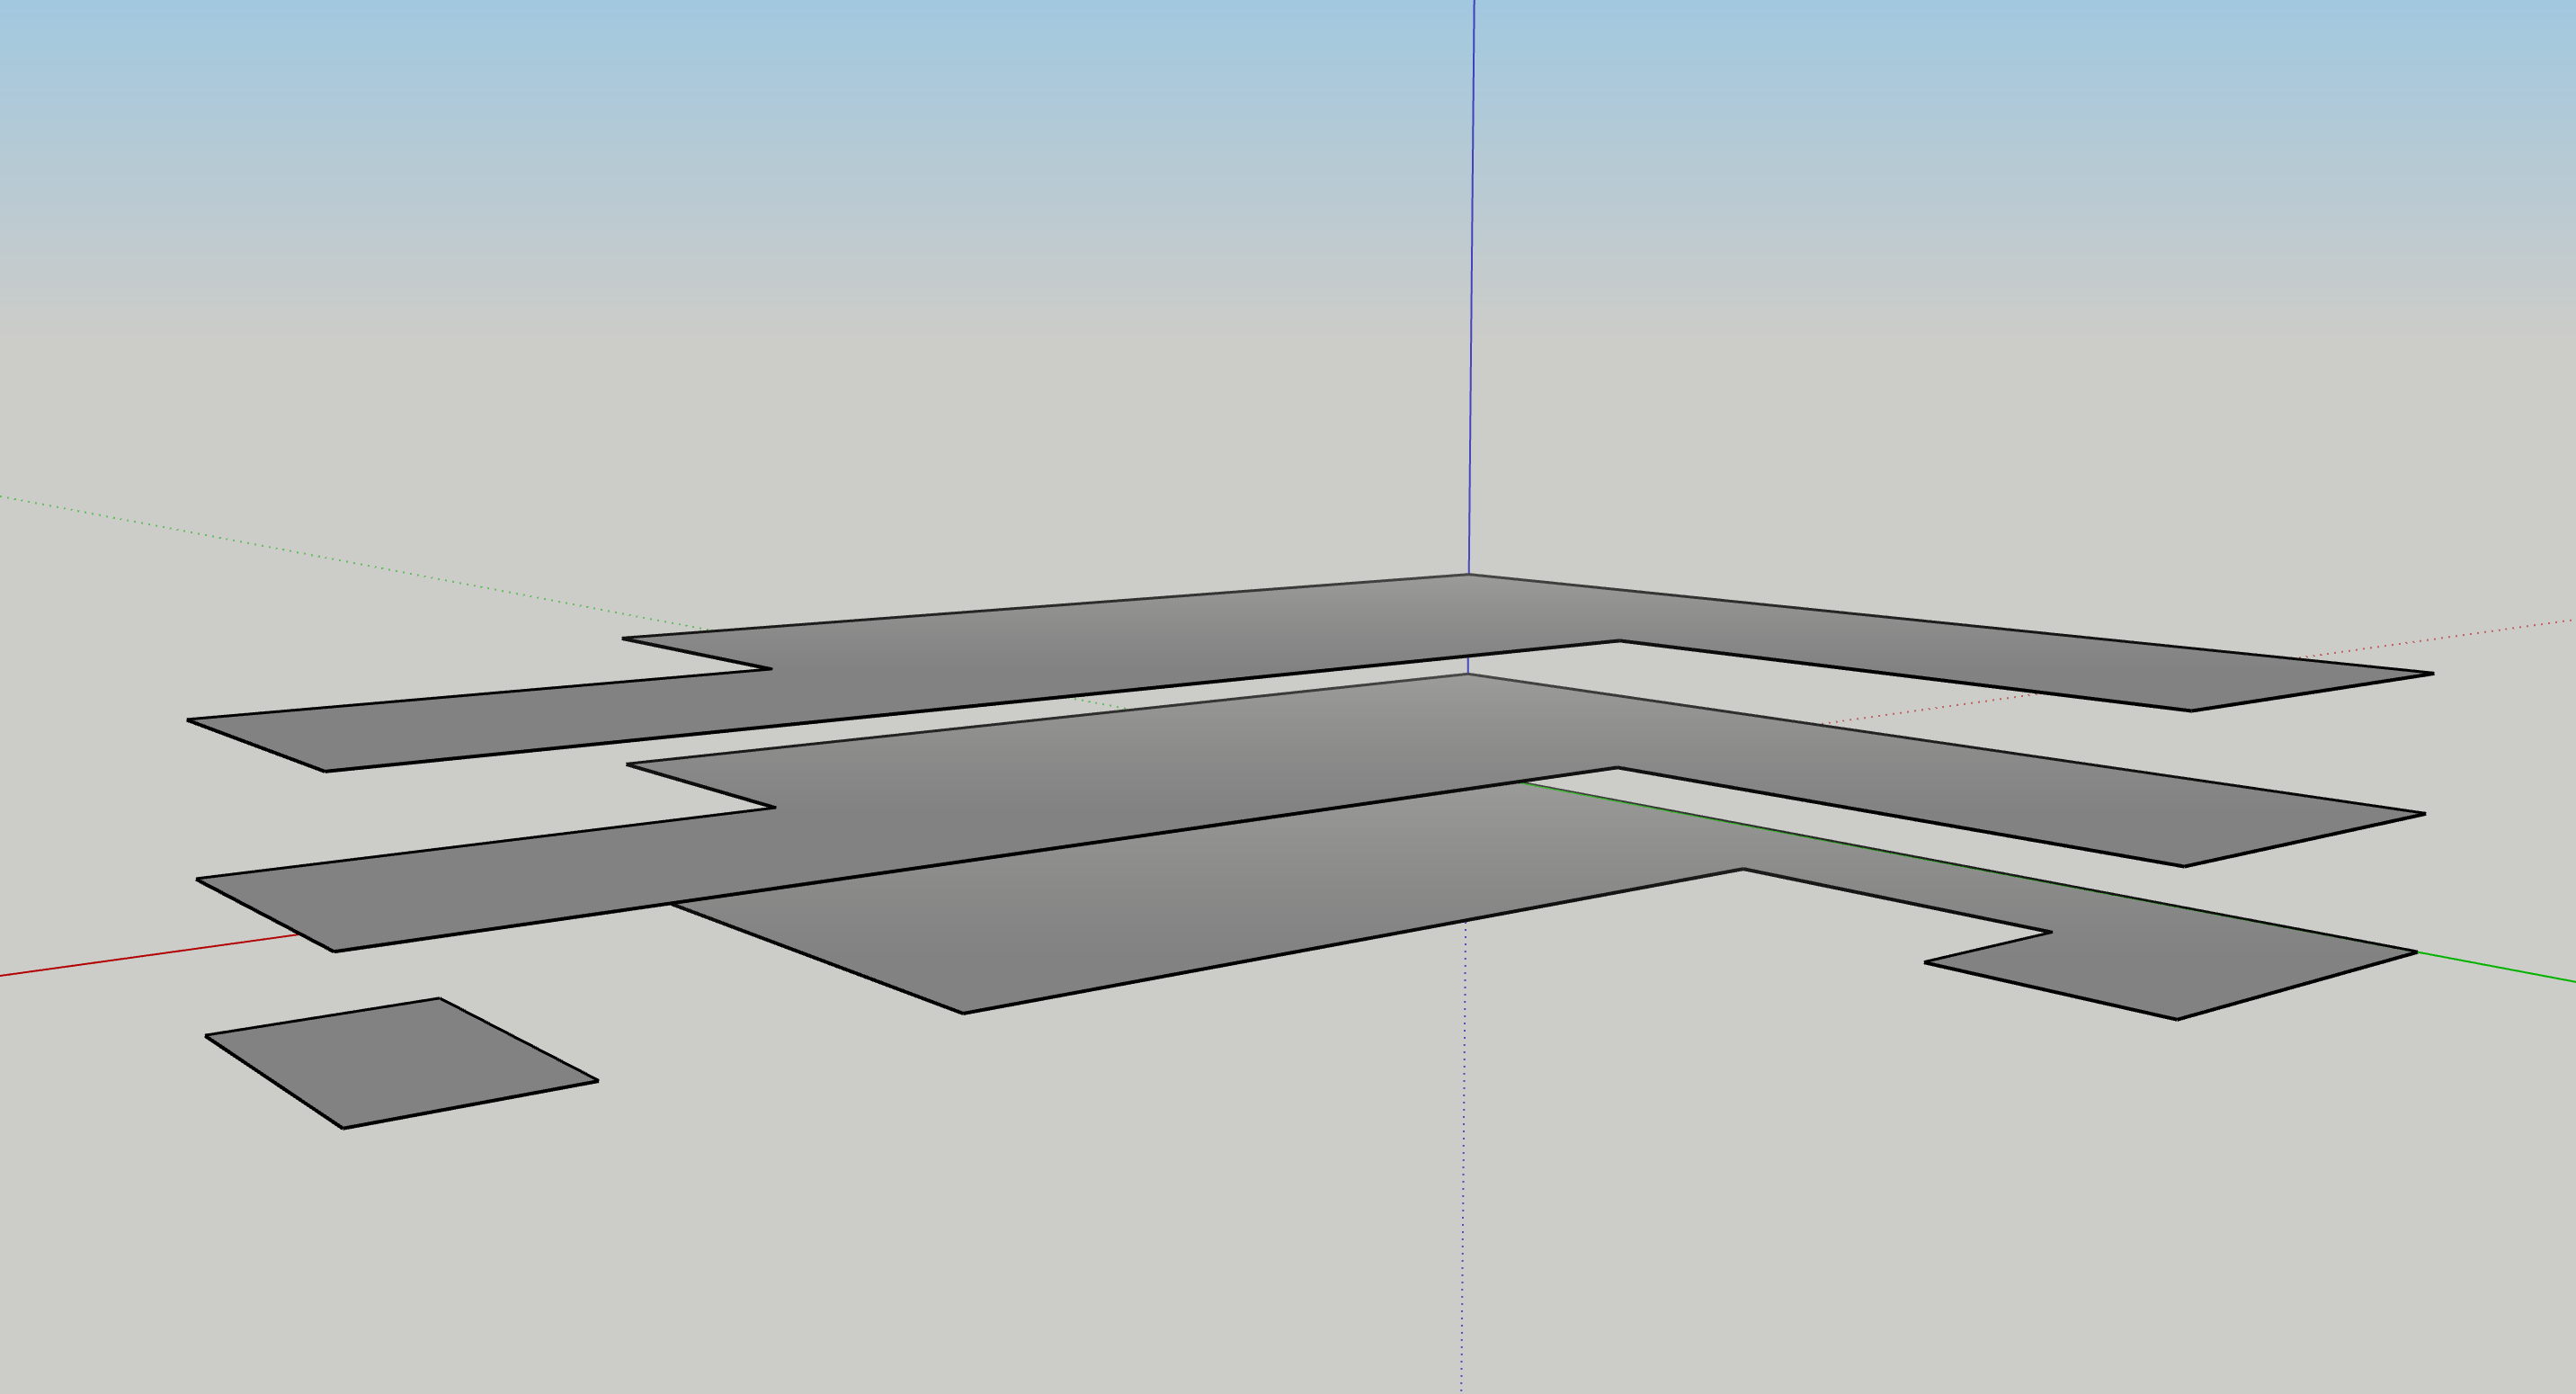
The problems arise once I do a multi-story project and I have a feeling there is a better way to do this. I will make two floor plans one the first-floor plan and the other is the second-floor plan. I will transform both of them into spaces using the command. Then I drag all of the second story spaces on top of the first-floor plan. After which I intersect the geometry and then use the match all command. There are numerous issues I get, firstly the second story is still registered as the first story, then I have a bunch of issues with surface matching between the ceiling and floor of the two levels, and finally sometimes certain spaces just lose their surfaces and I have to redraw them manually.

Does anyone have a workflow that they recommend?

edit retag flag offensive close merge delete

Comments

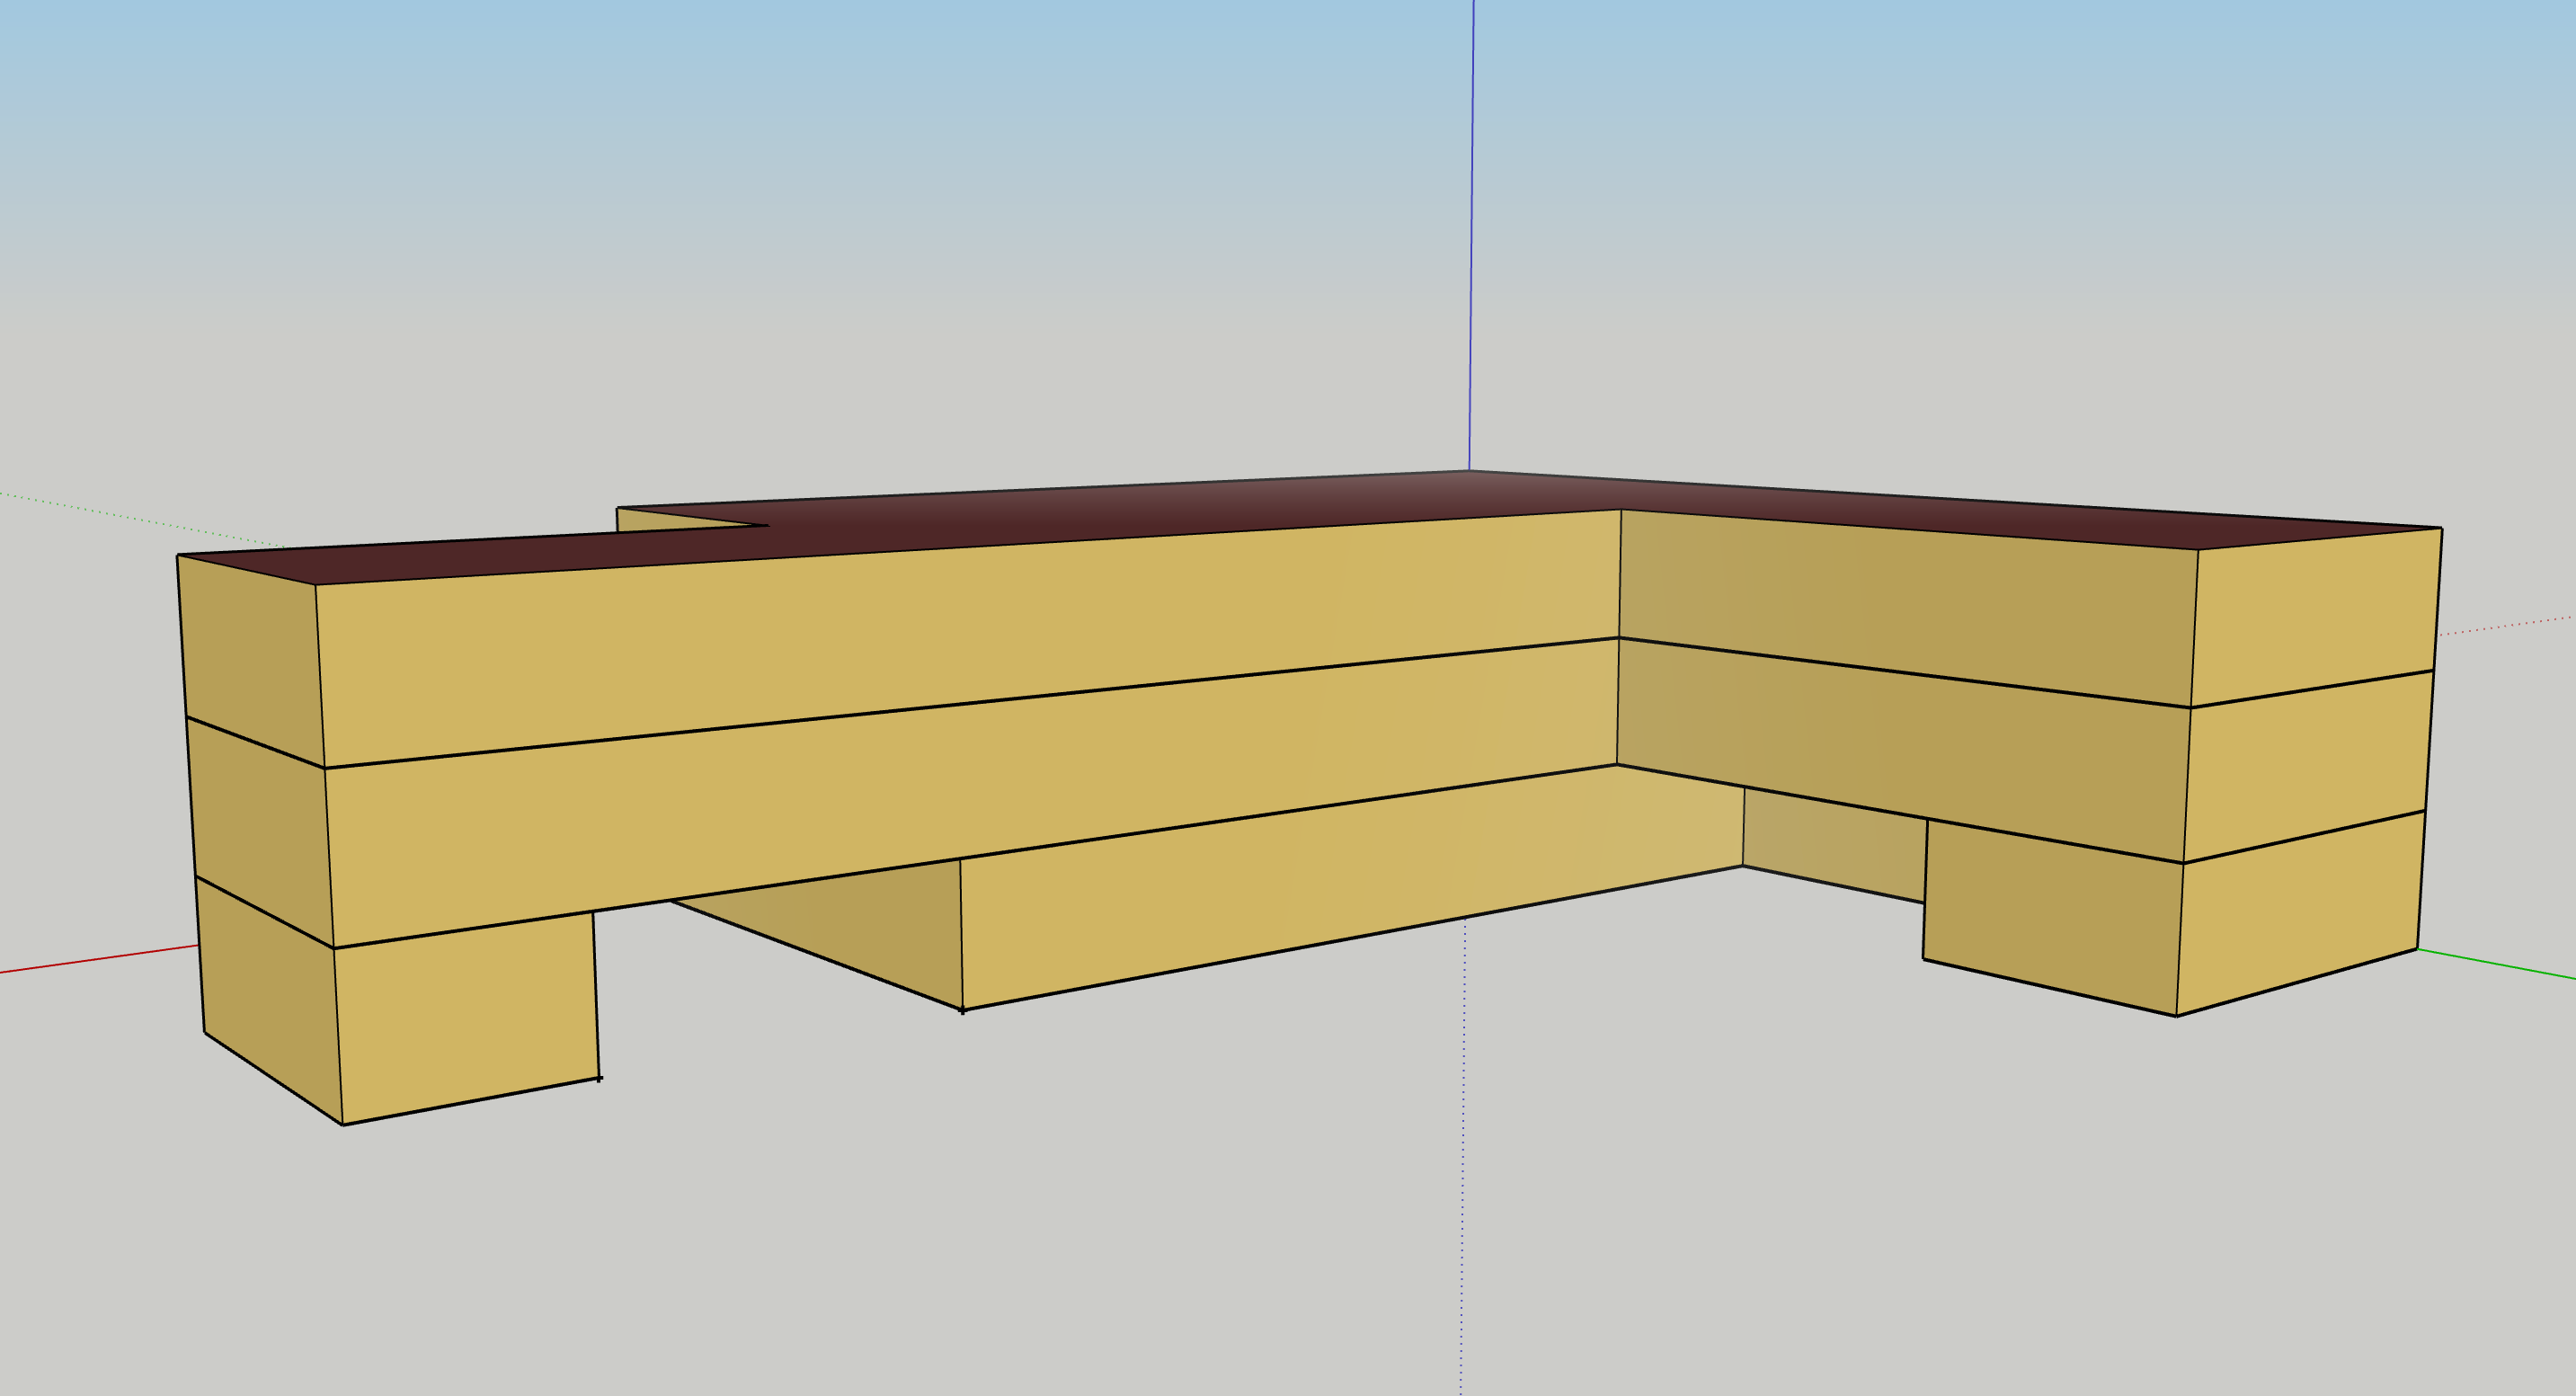
@Bander5498 the create spaces from diagram and surface matching sections of the OpenStudio Coalition documentation should be helpful.

Aaron Boranian's avatar Aaron Boranian  ( 2023-05-29 16:27:23 -0500 )edit

1 Answer

Sort by ยป oldest newest most voted
1

answered 2023-05-26 18:25:34 -0500

SketchUp plugin, right? I may be mistaken, but it seems you're drawing floor plans side by side (Z = 0m), then dragging one over the other (after creating spaces). Maybe best to draw the floor plans in 2D (vertically-aligned), then creating spaces in one go (then intersecting/matching). A simplistic example to make the point (but there would be many ways to go about this).

Step 1: Draw ground floor plan (+ guides for stories 2 & 3)

image description

Step 2: Copy ground floor plan (2x) and paste (displaced vertically)

image description

Step 3: Edit ground floor plan (i.e. not exactly as stories 2 & 3)

image description

Step 4: Select ALL and create spaces from diagrams

image description

The saved OSM will hold valid boundary conditions for these surfaces. You can actually run a simulation just to check. No thermal zones or systems, so not much is going to happen. Yet no errors or related warnings. Of course, some tweaking is required (e.g. the few exposed floors of storey 2 remained ground-facing ... easy fix).

Very simplistic, 4x space model. But that's how I'd approach multiple (non-matching) floors with the plugin. Hope this helps.

edit flag offensive delete link more

Your Answer

Please start posting anonymously - your entry will be published after you log in or create a new account.

Add Answer

Careers

Question Tools

Stats

Asked: 2023-05-22 11:14:07 -0500

Seen: 119 times

Last updated: May 26 '23