First time here? Check out the Help page!
 | 1 | initial version |
Lots of examples you can download from SketchUp 3d warehouse like this one. You can use scale tool to make it an egg. There are also plugins, or ways to hand make it.
To get it into OpenStudio you could just explode it, cut, and then paste into place into an empty space.
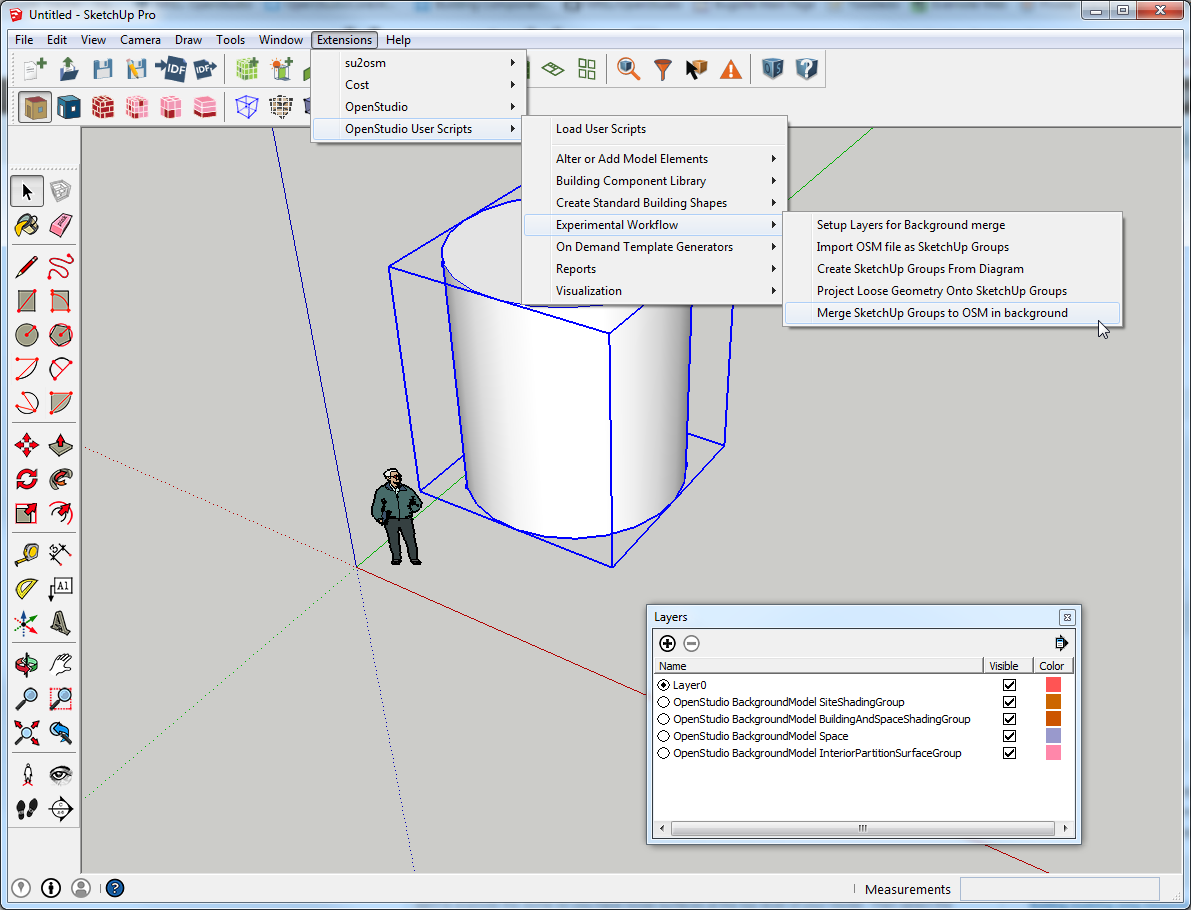
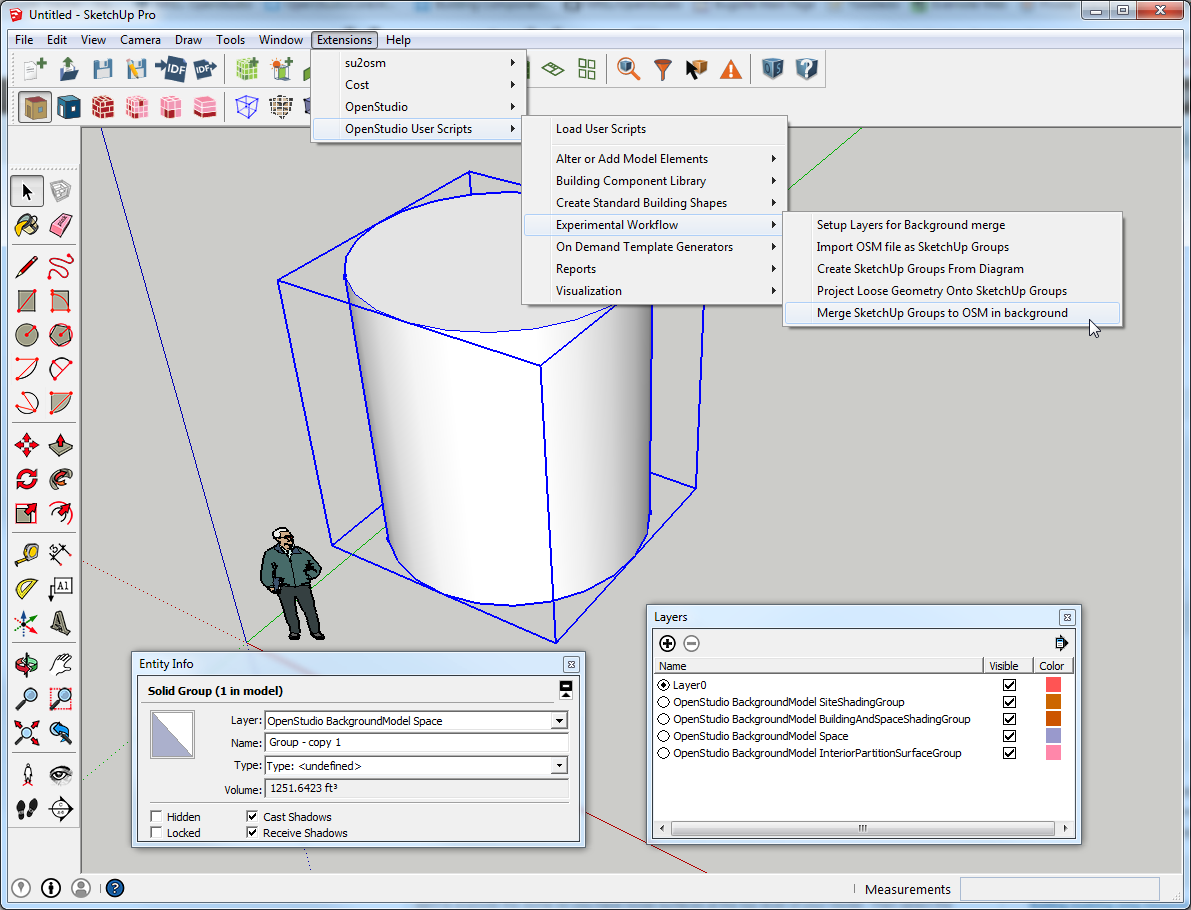
If you use the experimental workflow make sure you follow these steps. Also kepe in mind that EnergyPlus wants sub-surfaces to be rectangles or triangles. If you have a hexagon, you will have to split it into two triangles.

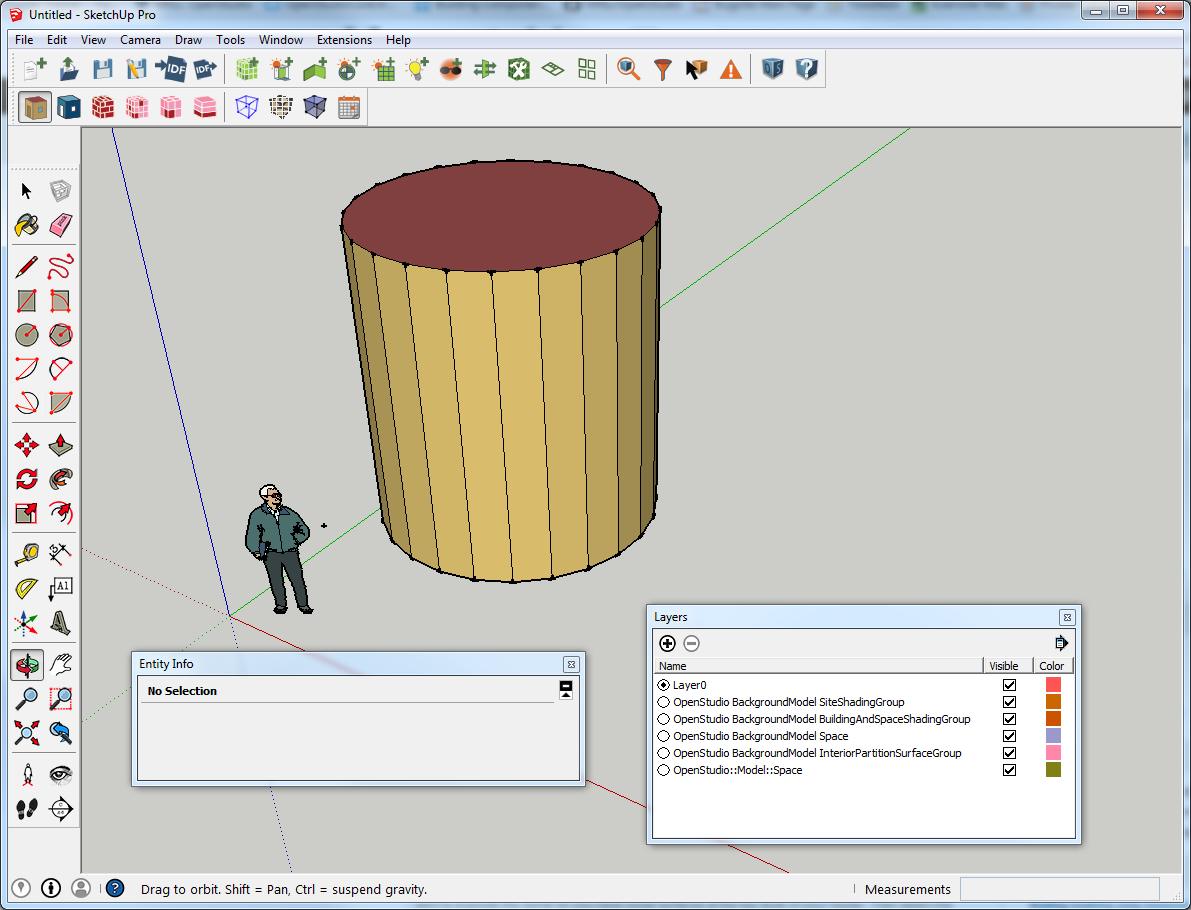
 Results should look like this
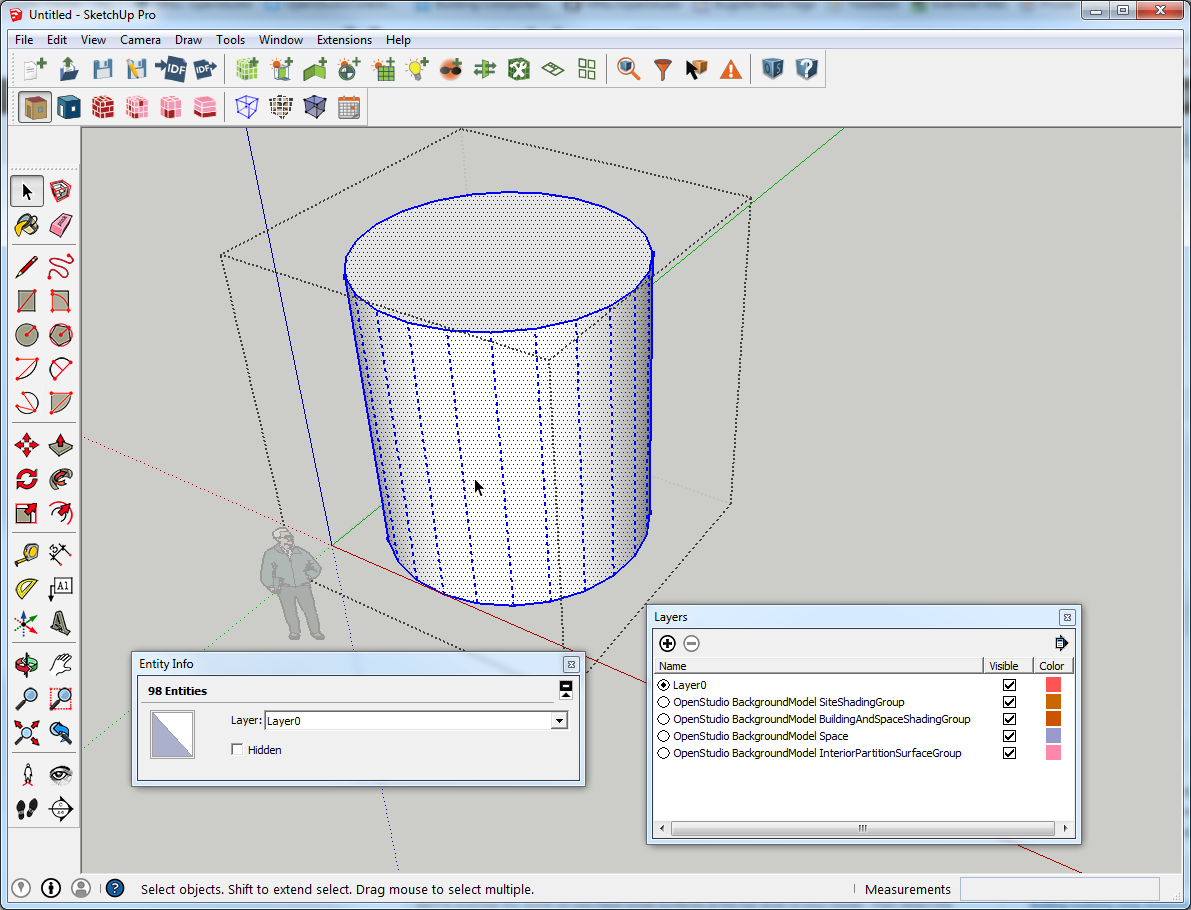
Also re curves. in SketchUp, while they looked curved in the first image, this is what they look like when you select the surfaces. SketchUp softens when rendering them (the softening can be disabled)

I think I have an unlisted video to the experimental workflow. I'll update this if I can find that.
 | 2 | No.2 Revision |
Lots of examples you can download from SketchUp 3d warehouse like this one. You can use scale tool to make it an egg. There are also plugins, or ways to hand make it.
To get it into OpenStudio you could just explode it, cut, and then paste into place into an empty space.
If you use the experimental workflow make sure you follow these steps. Also kepe in mind that EnergyPlus wants sub-surfaces to be rectangles or triangles. If you have a hexagon, you will have to split it into two triangles. (Just noticed one of the domes in the link above uses triangles. If you choose that you can use the offset tool to make the windows.)

 Results should look like this
Also re curves. in SketchUp, while they looked curved in the first image, this is what they look like when you select the surfaces. SketchUp softens when rendering them (the softening can be disabled)

I think I have an unlisted video to the experimental workflow. I'll update this if I can find that.
 | 3 | No.3 Revision |
Lots of examples you can download from SketchUp 3d warehouse like this one. You can use scale tool to make it an egg. There are also plugins, or ways to hand make it.
To get it into OpenStudio you could just explode it, cut, and then paste into place into an empty space.
If you use the experimental workflow make sure you follow these steps. Also kepe in mind that EnergyPlus wants sub-surfaces to be rectangles or triangles. If you have a hexagon, you will have to split it into two triangles. (Just noticed one of the domes in the link above uses triangles. If you choose that you can use the offset tool to make the windows.) windows). Don't get too complex too many surfaces in one zone creates slow simulations.

 Results should look like this
Also re curves. in SketchUp, while they looked curved in the first image, this is what they look like when you select the surfaces. SketchUp softens when rendering them (the softening can be disabled)

I think I have an unlisted video to the experimental workflow. I'll update this if I can find that.
 | 4 | No.4 Revision |
Lots of examples you can download from SketchUp 3d warehouse like this one. You can use scale tool to make it an egg. There are also plugins, or ways to hand make it.
To get it into OpenStudio you could just explode it, cut, and then paste into place into an empty space.
If you use the experimental workflow make sure you follow these steps. Also kepe in mind that EnergyPlus wants sub-surfaces to be rectangles or triangles. If you have a hexagon, you will have to split it into two triangles. (Just noticed one of the domes in the link above uses triangles. If you choose that you can use the offset tool to make the windows). Don't get too complex too many surfaces in one zone creates slow simulations.

 Results should look like this
Also re curves. in SketchUp, while they looked curved in the first image, this is what they look like when you select the surfaces. SketchUp softens when rendering them (the softening can be disabled)

I think I have an unlisted video to the experimental workflow. I'll update this if I can find that.
 | 5 | No.5 Revision |
Lots of examples you can download from SketchUp 3d warehouse like this one. You can use scale tool to make it an egg. There are also plugins, or ways to hand make it.
To get it into OpenStudio you could just explode it, cut, and then paste into place into an empty space.
If you use the experimental workflow make sure you follow these steps. Also kepe in mind that EnergyPlus wants sub-surfaces to be rectangles or triangles. If you have a hexagon, you will have to split it into two triangles. (Just noticed one of the domes in the link above uses triangles. If you choose that you can use the offset tool to make the windows). Don't get too complex too many surfaces in one zone creates slow simulations.


 Results should look like this
Also re curves. in SketchUp, while they looked curved in the first image, this is what they look like when you select the surfaces. SketchUp softens when rendering them (the softening can be disabled)

I think I have an unlisted video to the experimental workflow. I'll update this if I can find that.
update: found the experimental workflow video.
